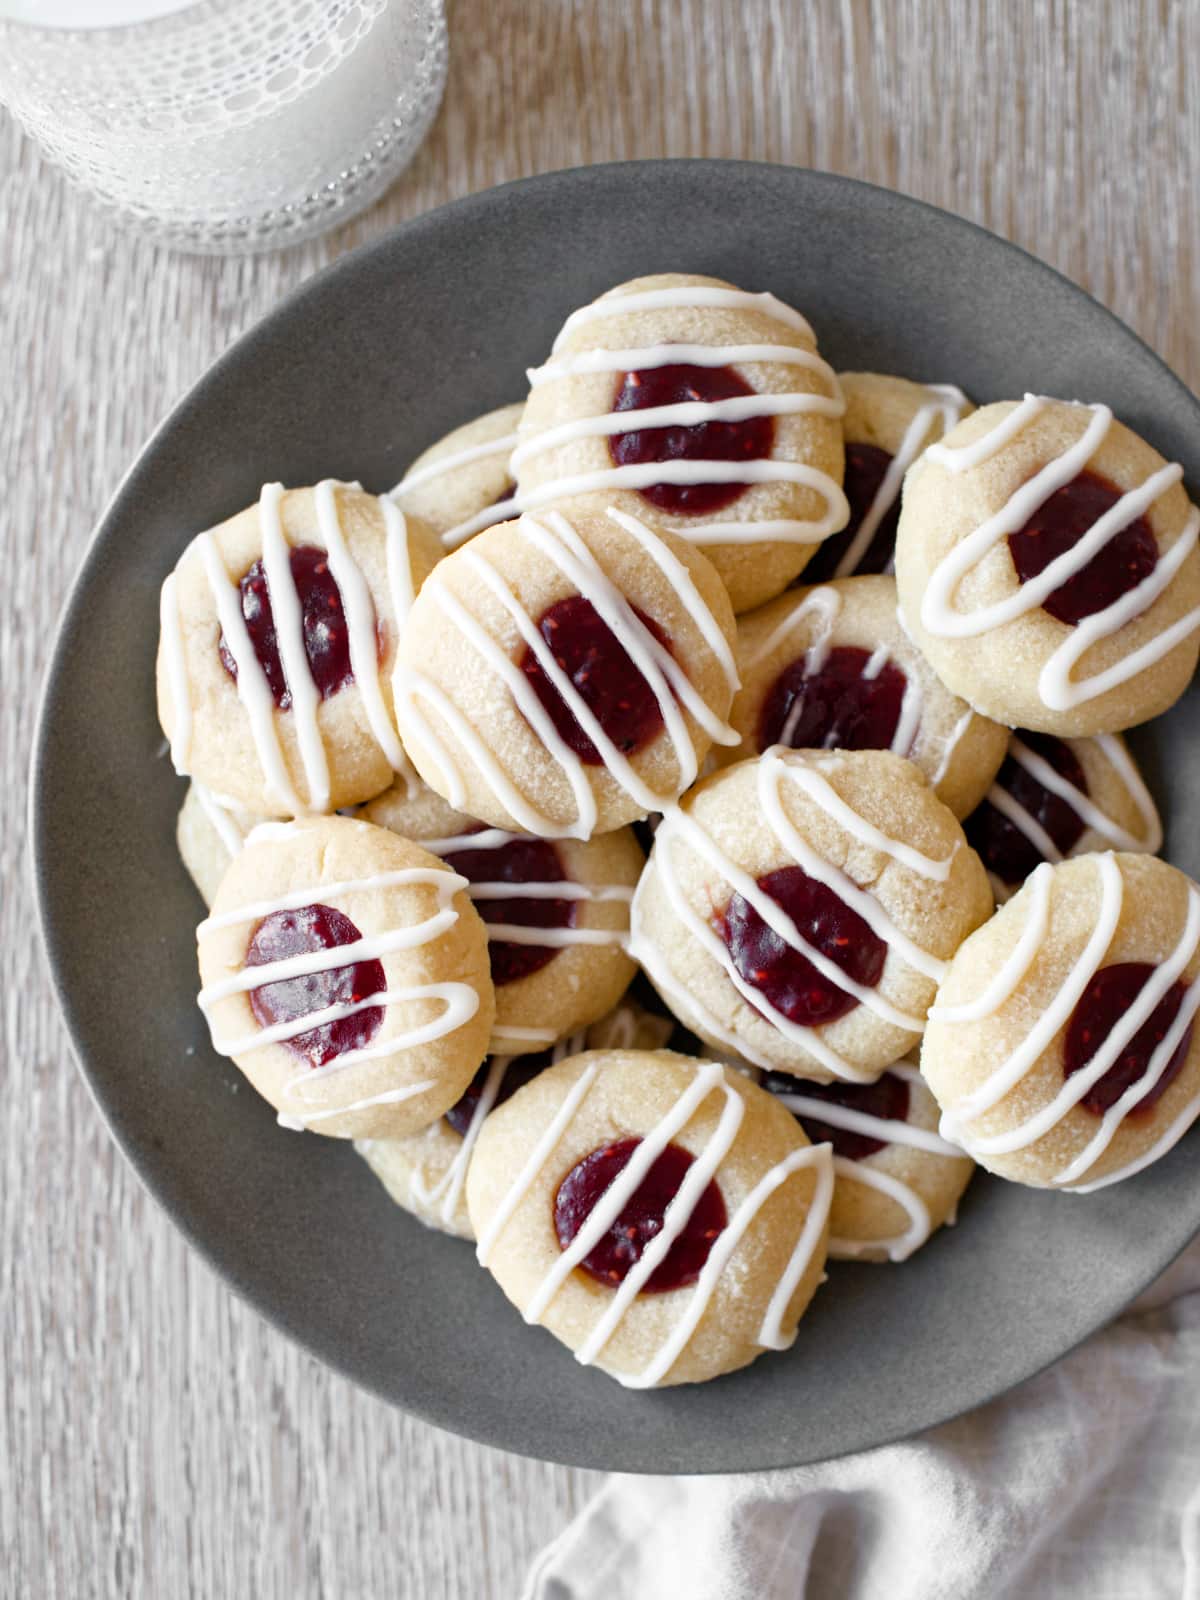
Hands down, this raspberry thumbprint cookie recipe is the best I've ever tested. It's easy to make and perfectly balanced with jam, almond extract, and sweet glaze.
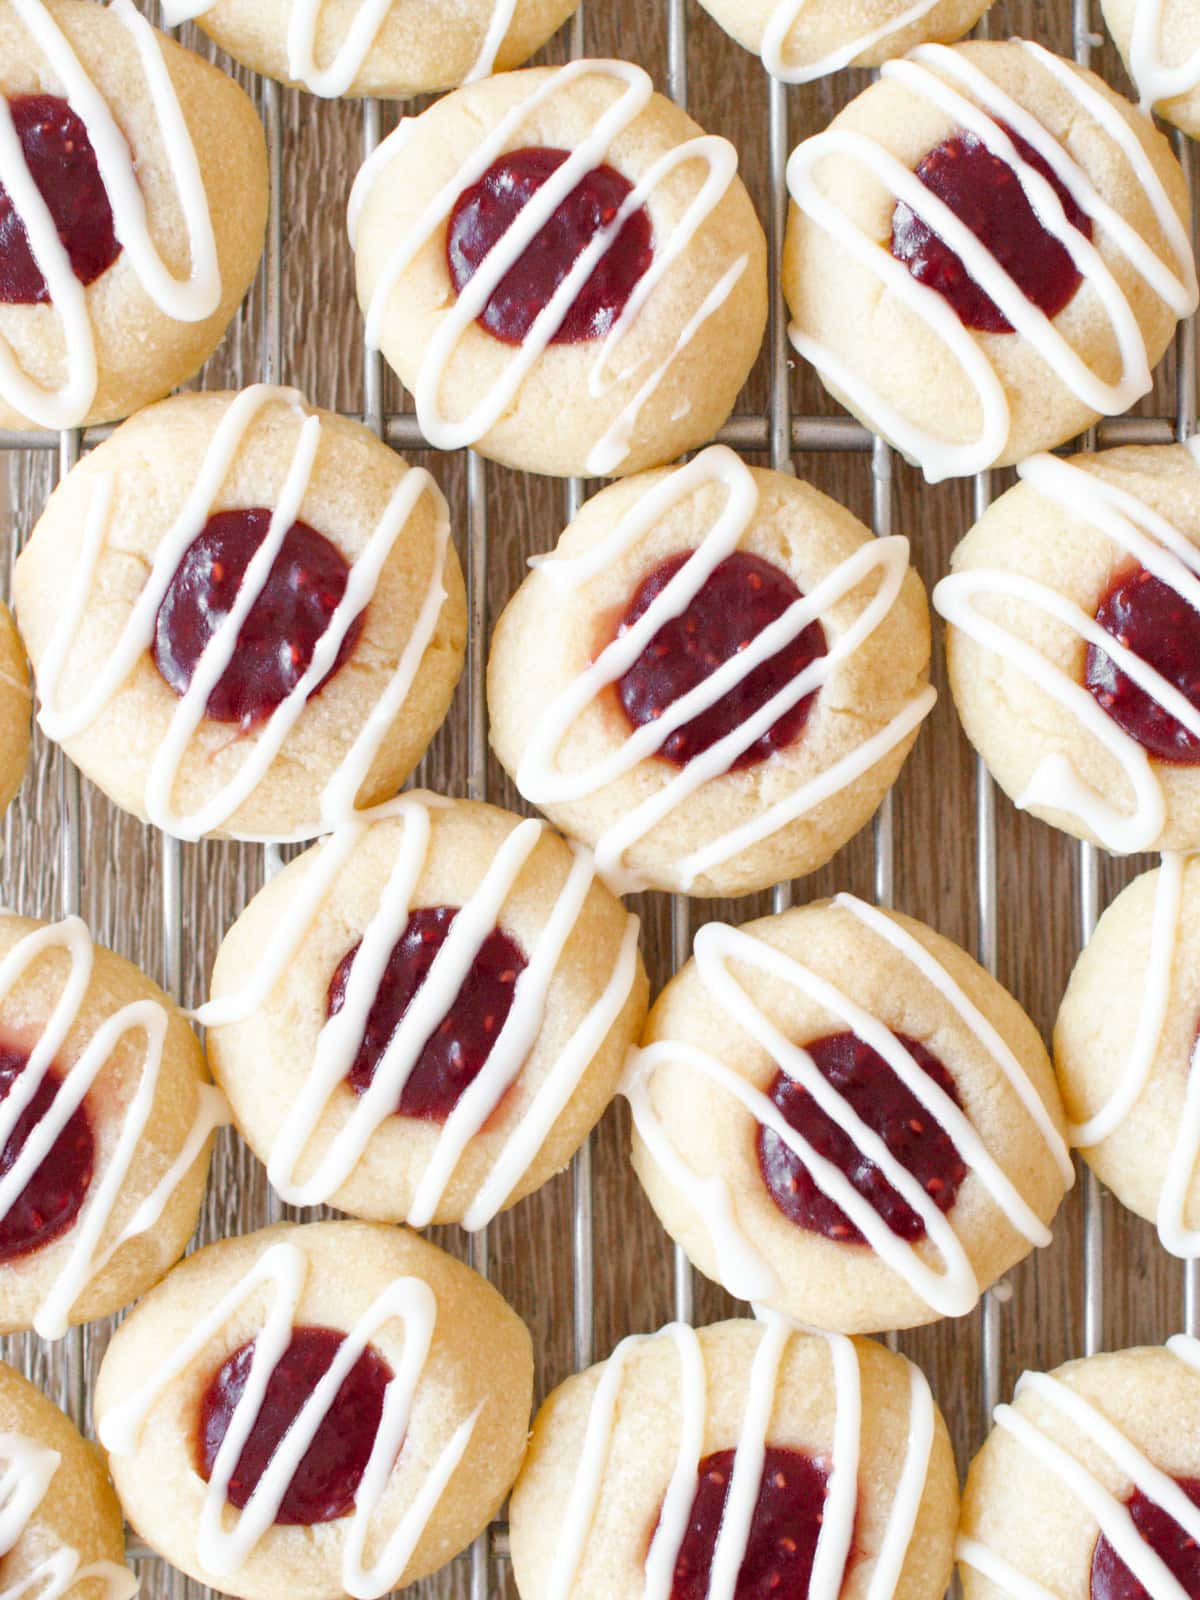
These raspberry thumbprint cookies have the perfect hint of almond, are irresistibly delicious, and will melt in your mouth

Inspired by traditional Swedish cookies, Hallongrotta, or raspberry caves. Raspberry thumbprint cookies are buttery, crumbly, and delicious. With just a handful of ingredients, they come together quickly. Plus, you can fill the indent with a flavor you love.
The standard batch yields 24 cookies, but you can scale it up if you're baking a dessert for a group. These cookies are a definite crowd-pleaser. Whether it's a party, family gathering, or work event, everyone will flock to them.
Before you start baking, use butter straight from the fridge. Contrary to many recipes that call for softened butter, keep it cold to avoid flat cookies. This trick will ensure you bake adorable and tasty cookies that hold their shape.

Ingredients
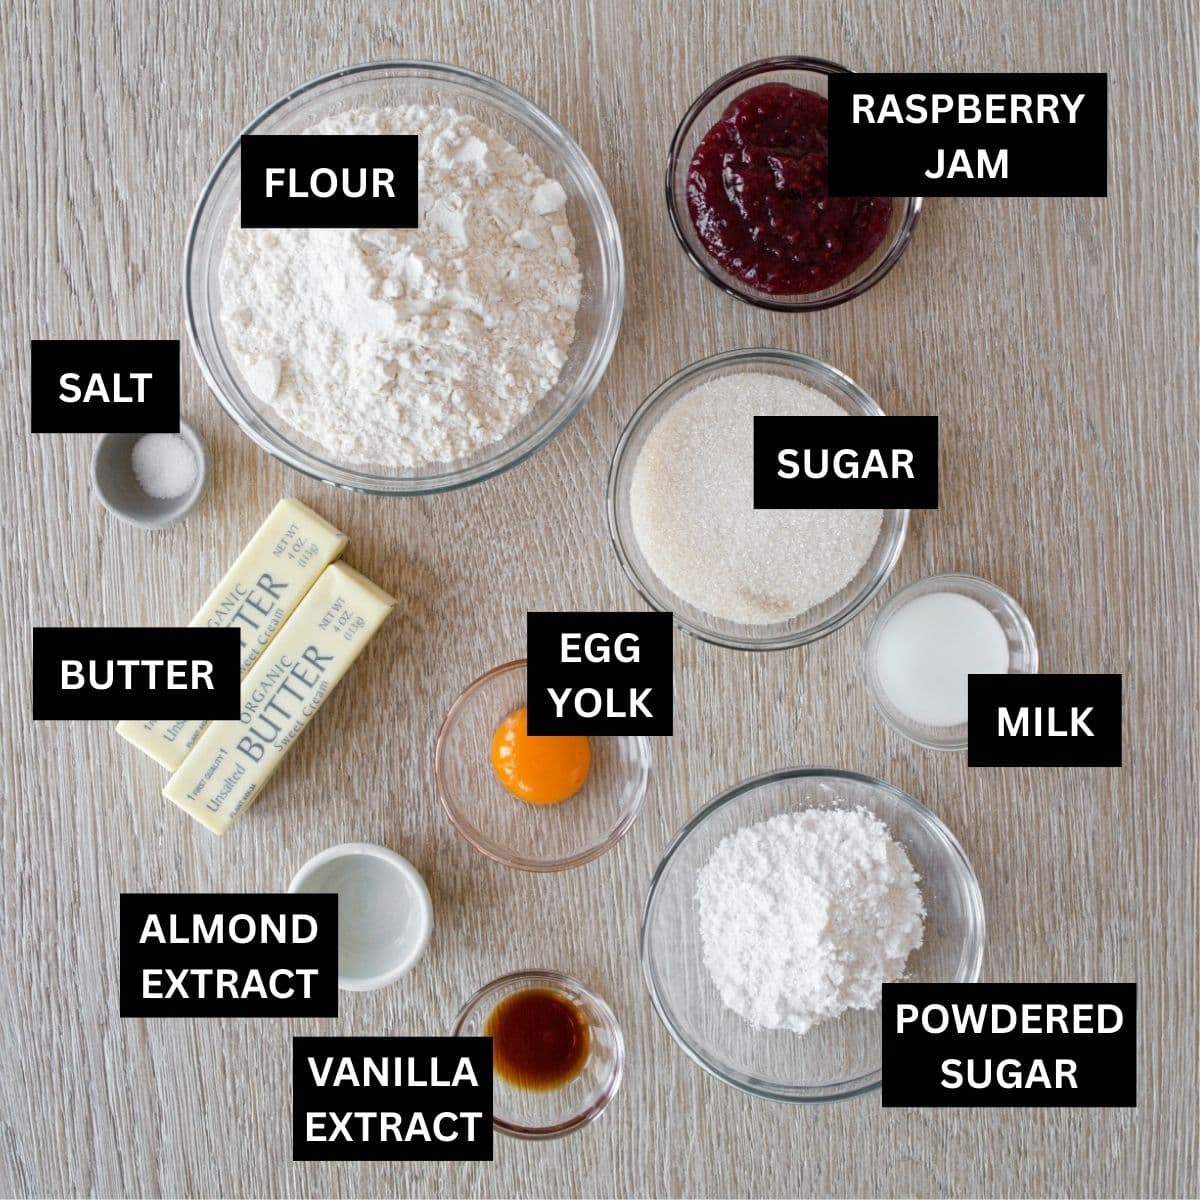
To make these cookies, you'll need the following ingredients. Refer to the recipe card for the full list of ingredients and measurements.
Butter: The key ingredient for the cookie's rich flavor and crisp, but tender texture. I recommend unsalted butter to avoid salty cookies. Butter also helps the cookies hold their shape in the oven.
Sugar: Adds sweetness while balancing the tartness of the raspberry jam filling. Sugar also plays a role in the browning of the cookies while baking.
Egg yolk: By using only the yolk, your dough becomes rich, tender, and stays together while baking. The egg yolk gives the cookies a shortbread-like texture.
Vanilla extract: After you cream the butter and sugar together, you'll add vanilla extract as a flavor enhancer. It gives your thumbprint cookies more depth. Vanilla brings a cozy sweetness with a subtle floral taste.
Almond extract: The hint of almond flavor complements the buttery sweetness. It's optional, but it pairs so well with the raspberry jam. The slight nuttiness makes these cookies irresistible.
Salt: Enhances flavor and balances sweetness. Salt is essential for the depth of flavor and for preventing bland cookies.
All-purpose flour: After mixing the other ingredients, you'll add the flour. The key is to be precise. Use a kitchen scale or spoon the flour into a measuring cup. Then, use a knife to level it off. This prevents overpacking. Too much flour can result in dry, crumbly cookies.
Raspberry jam: I use raspberry jam for this recipe. You can use any jam for the filling. Other options include blueberry, cherry, strawberry, blackberry, or apricot. I like jams that have a bit of tartness because it complements the sweet, buttery base.
Powdered sugar: A sweet and silky glaze is the perfect topping for a thumbprint cookie. Sugar in powder form dissolves fast without needing much liquid. It makes it smooth rather than grainy. It's the base of this glaze.
Milk: Whisk the powdered sugar and vanilla extract in milk until smooth. Milk provides a liquid for the sugar to dissolve into. It helps the glaze come together. If it's too thick, add more milk. Heavy cream is another base for a sweet glaze, resulting in a creamier texture and richer flavor. Since it's thicker, you'll need more heavy cream than milk.
How to Make Raspberry Thumbprint Cookies
The following are the steps and process images to make raspberry thumbprint cookies. Refer to the recipe card for the complete set of instructions.
1. Preheat the oven. Heat oven to 350°F (175°C). Then, line 1 or 2 baking sheets with parchment paper. The cookies need about 2 inches of space between them, so the number of baking sheets depends on the size. While you're waiting, whisk together the flour and salt in a medium bowl.
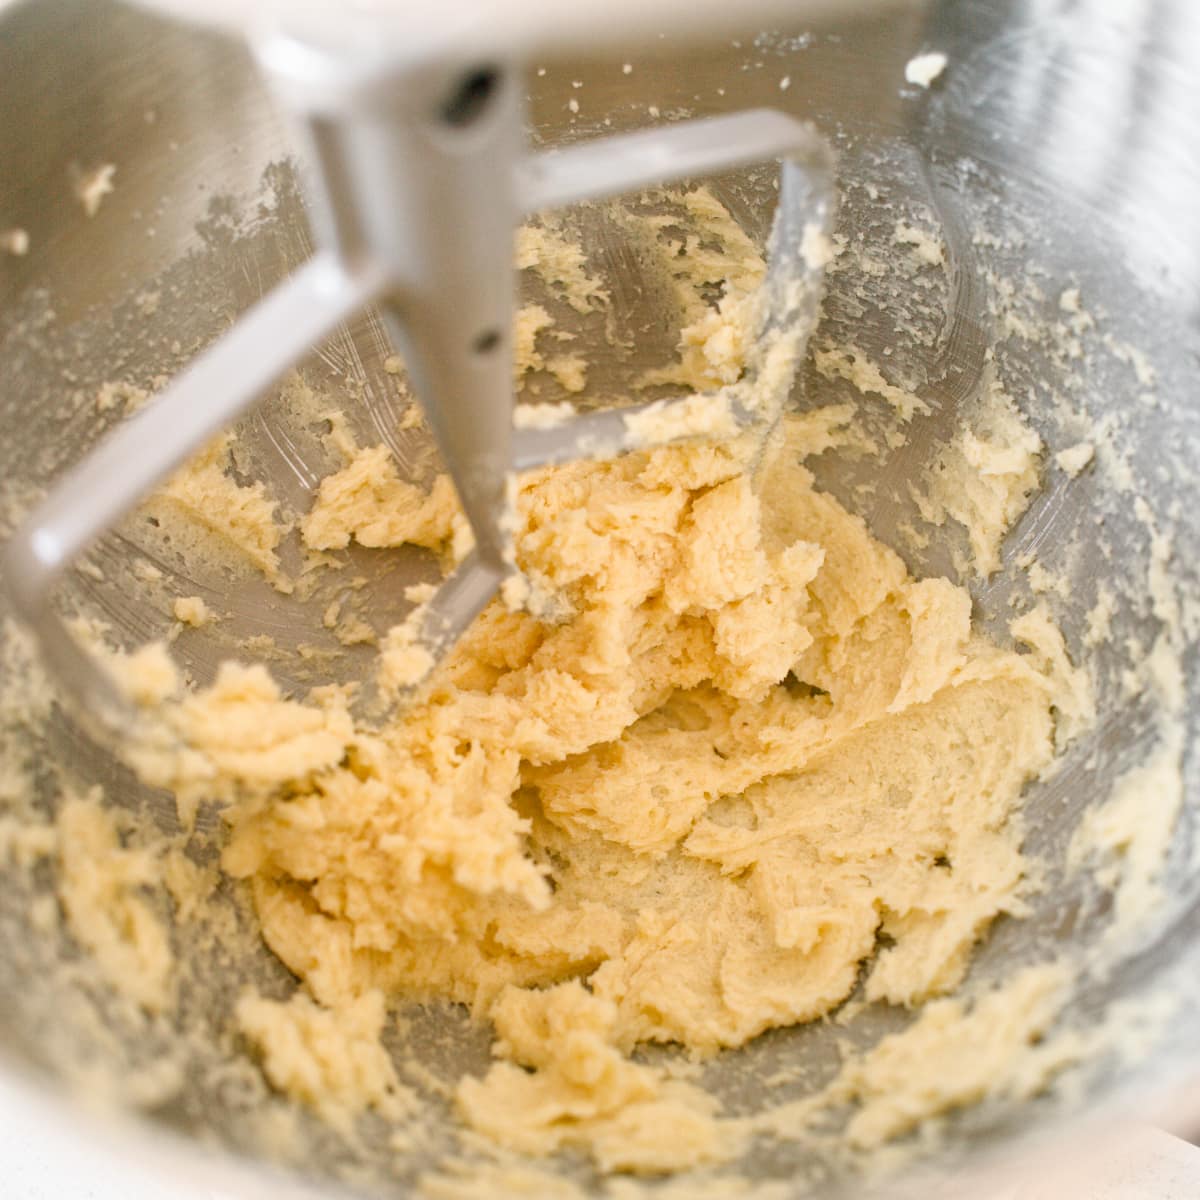
2. Cream butter and sugar. Use an electric mixer to cream butter and sugar until it's light and fluffy. Start on low speed and increase it to high as the butter and sugar mix. It'll take about 3 to 5 minutes. You'll know it's ready when there are no chunks of butter, and it has a fluffy texture.
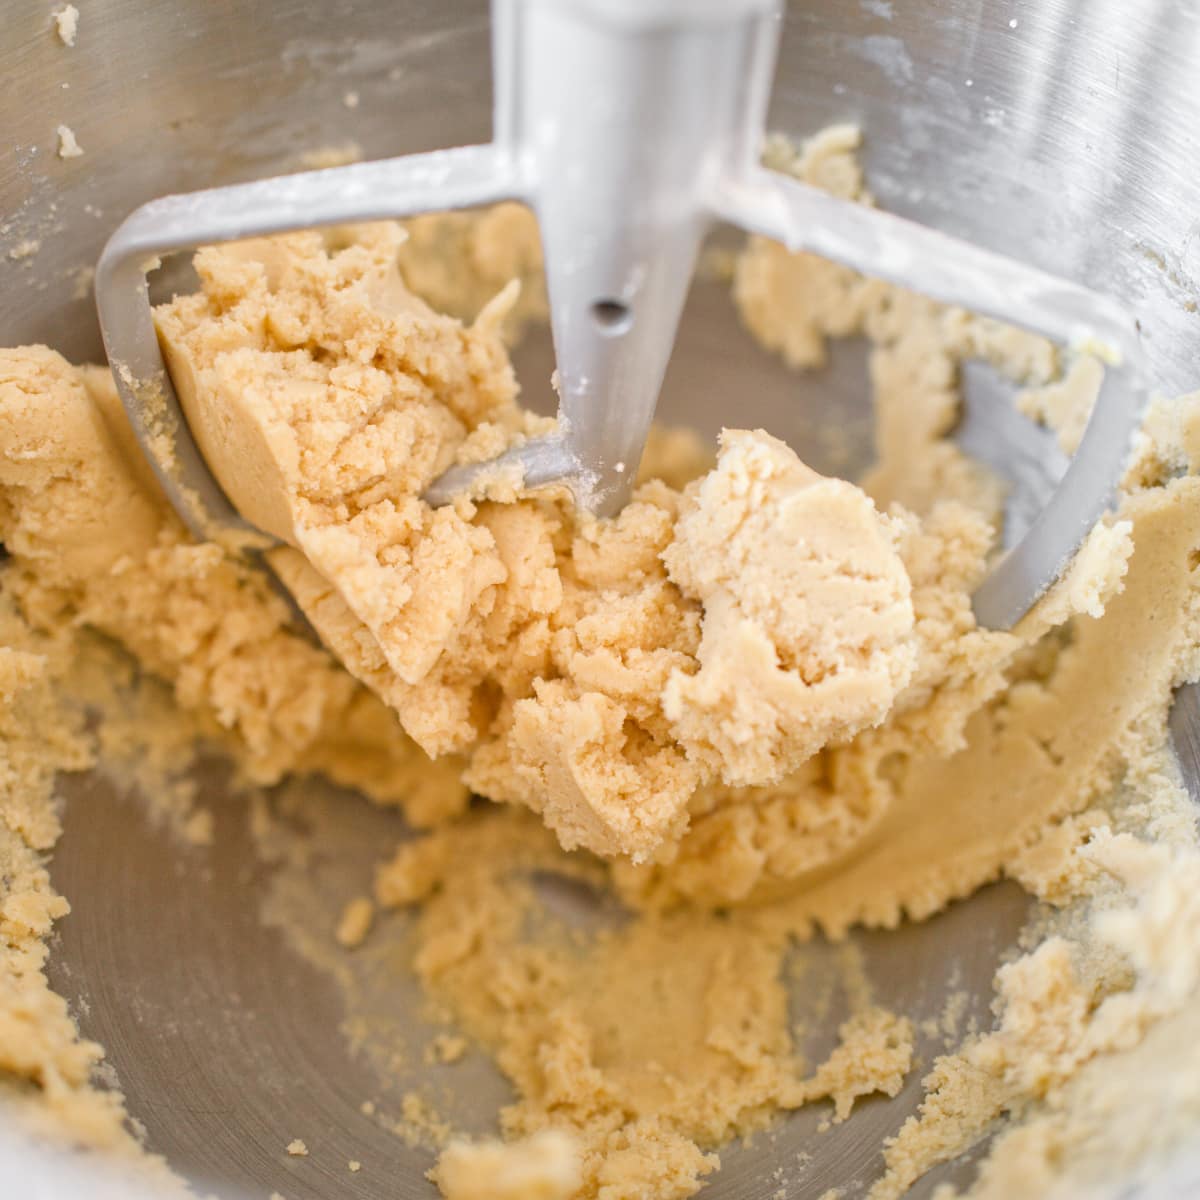
3. Add wet ingredients. Continue making the dough by turning on the mixer on low speed. Then, add the egg yolk, vanilla extract, and almond extract.
4. Add dry ingredients. Keep the mixer on low. Then, gradually add the flour and salt mixture. Scrape down the sides of the bowl, and continue mixing until a soft dough forms. Once all the flour is combined, stop mixing to ensure the cookies maintain a tender texture.
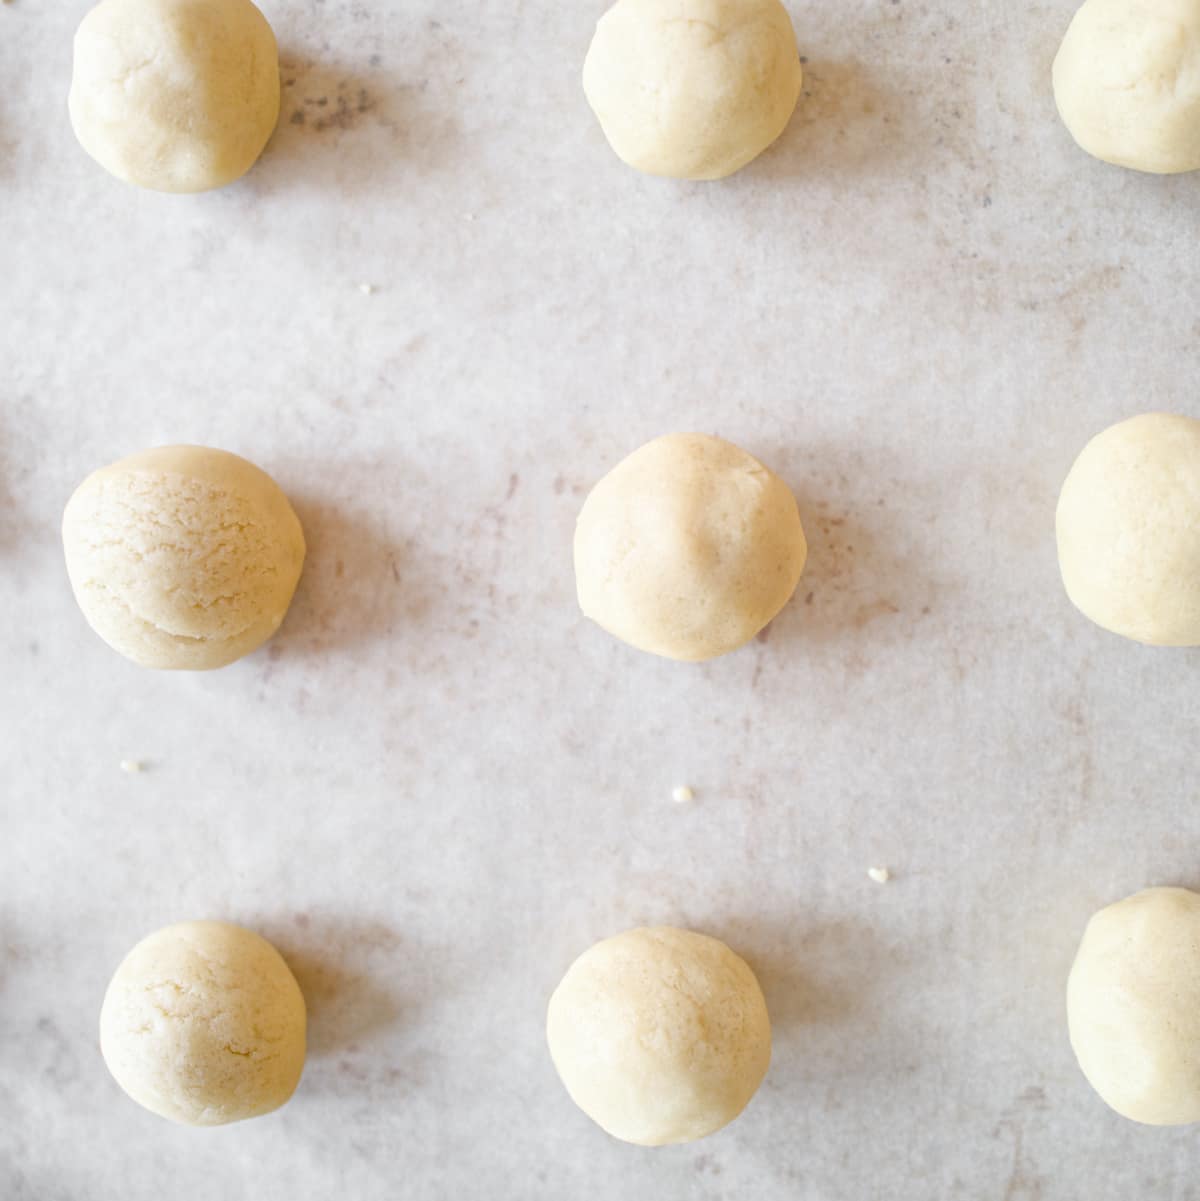
5. Prepare balls. Scoop out 1 tablespoon of cookie dough and roll it into a smooth ball. This recipe makes 24 cookies. Then, place them on the lined baking sheet(s). Space the balls about 2 inches apart.
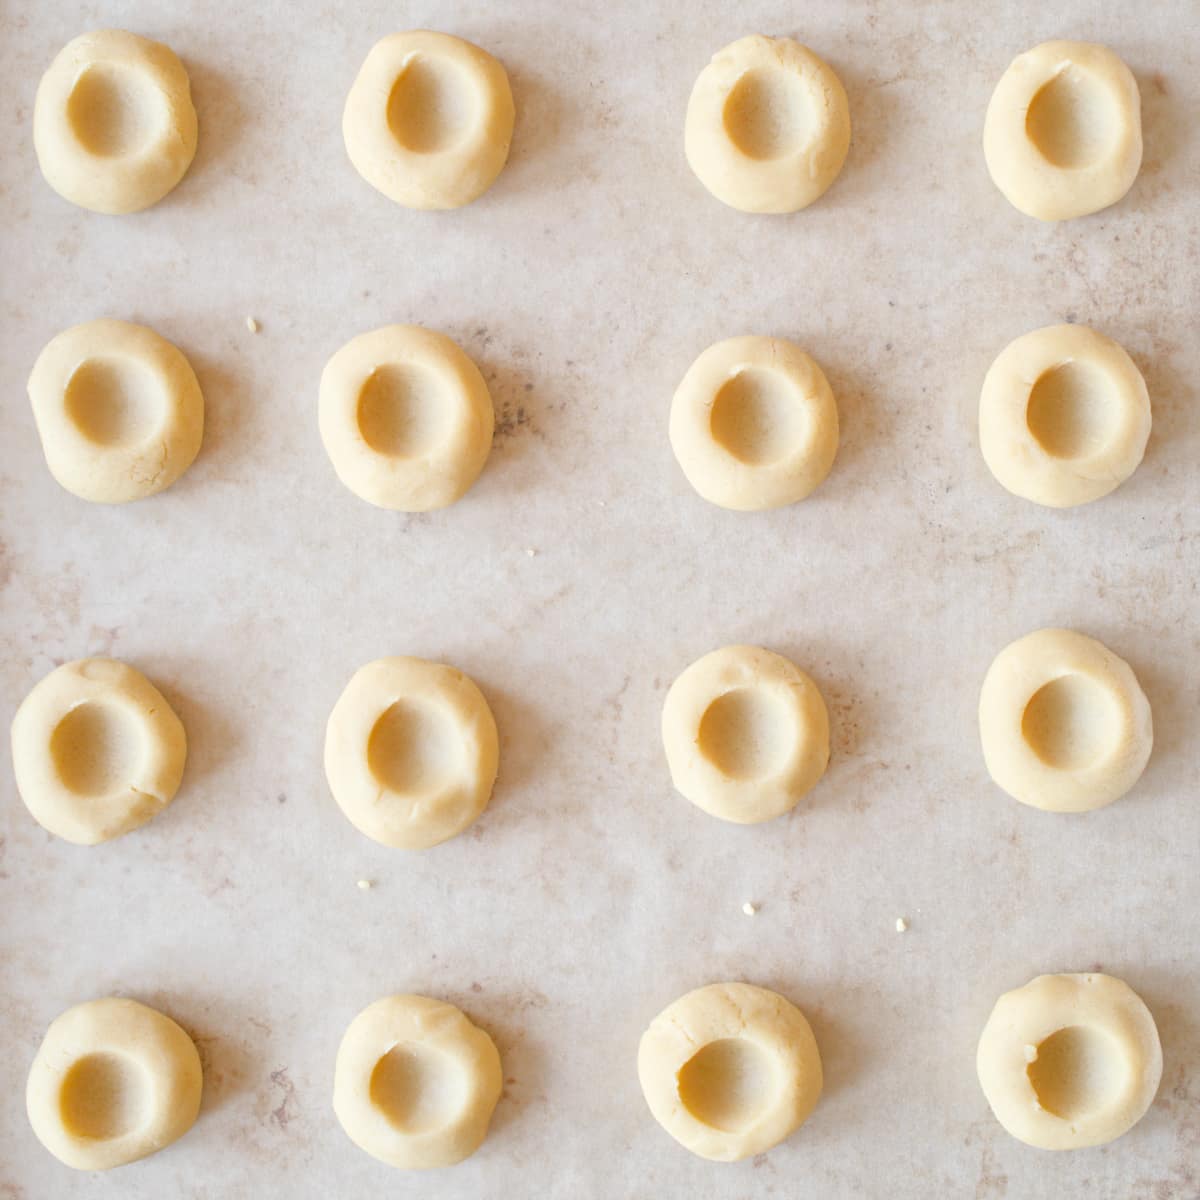
6. Make an indent. Create a small indent by gently pressing your thumb or the back of a teaspoon into the center of each ball.
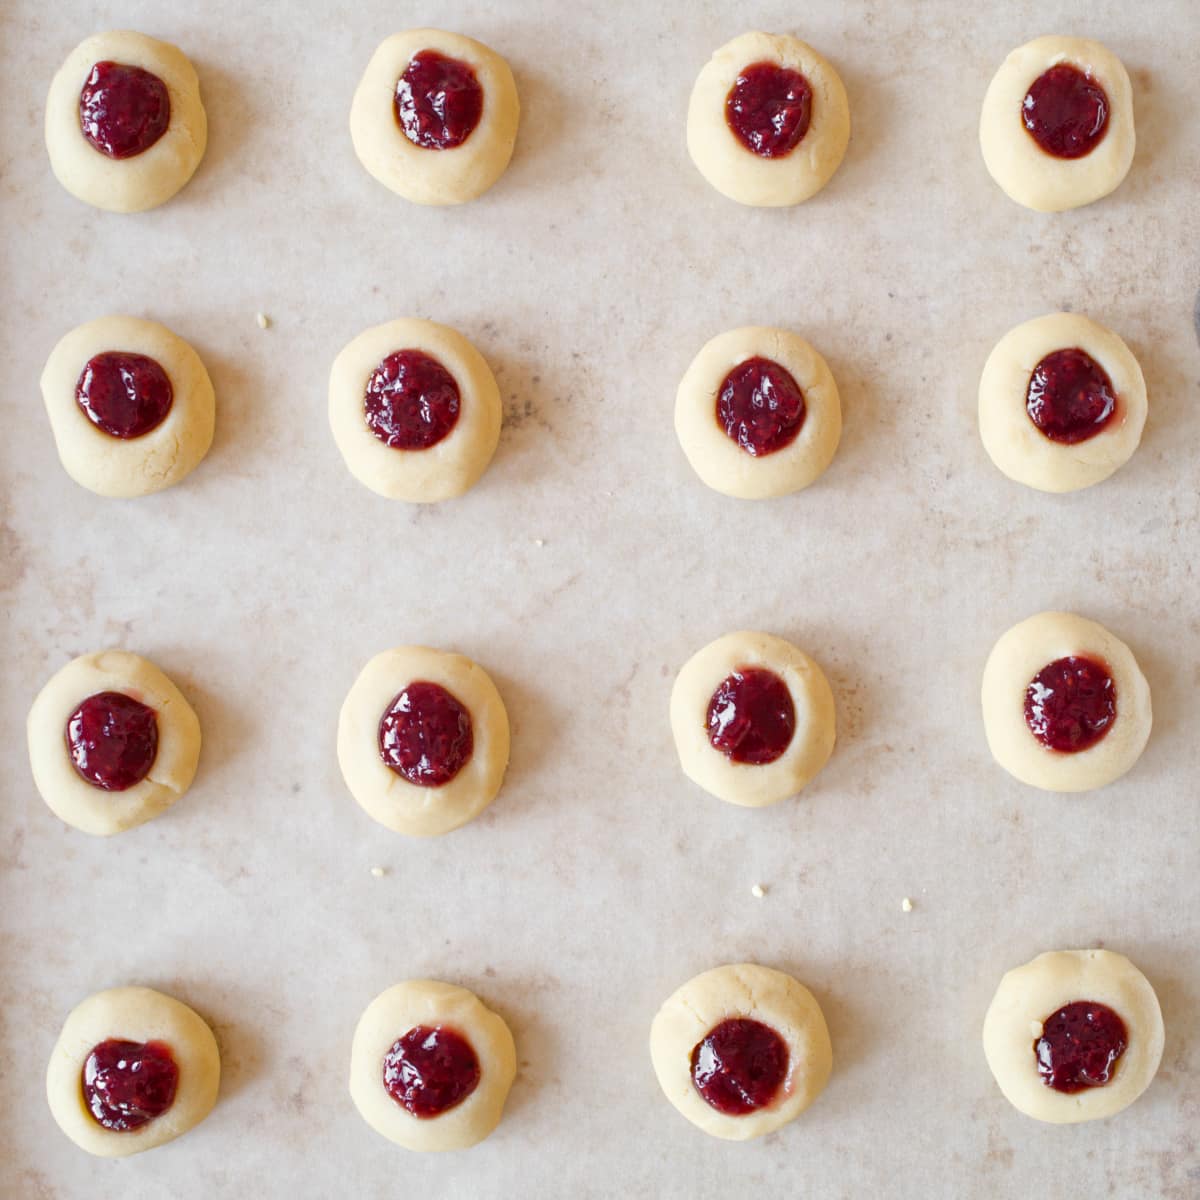
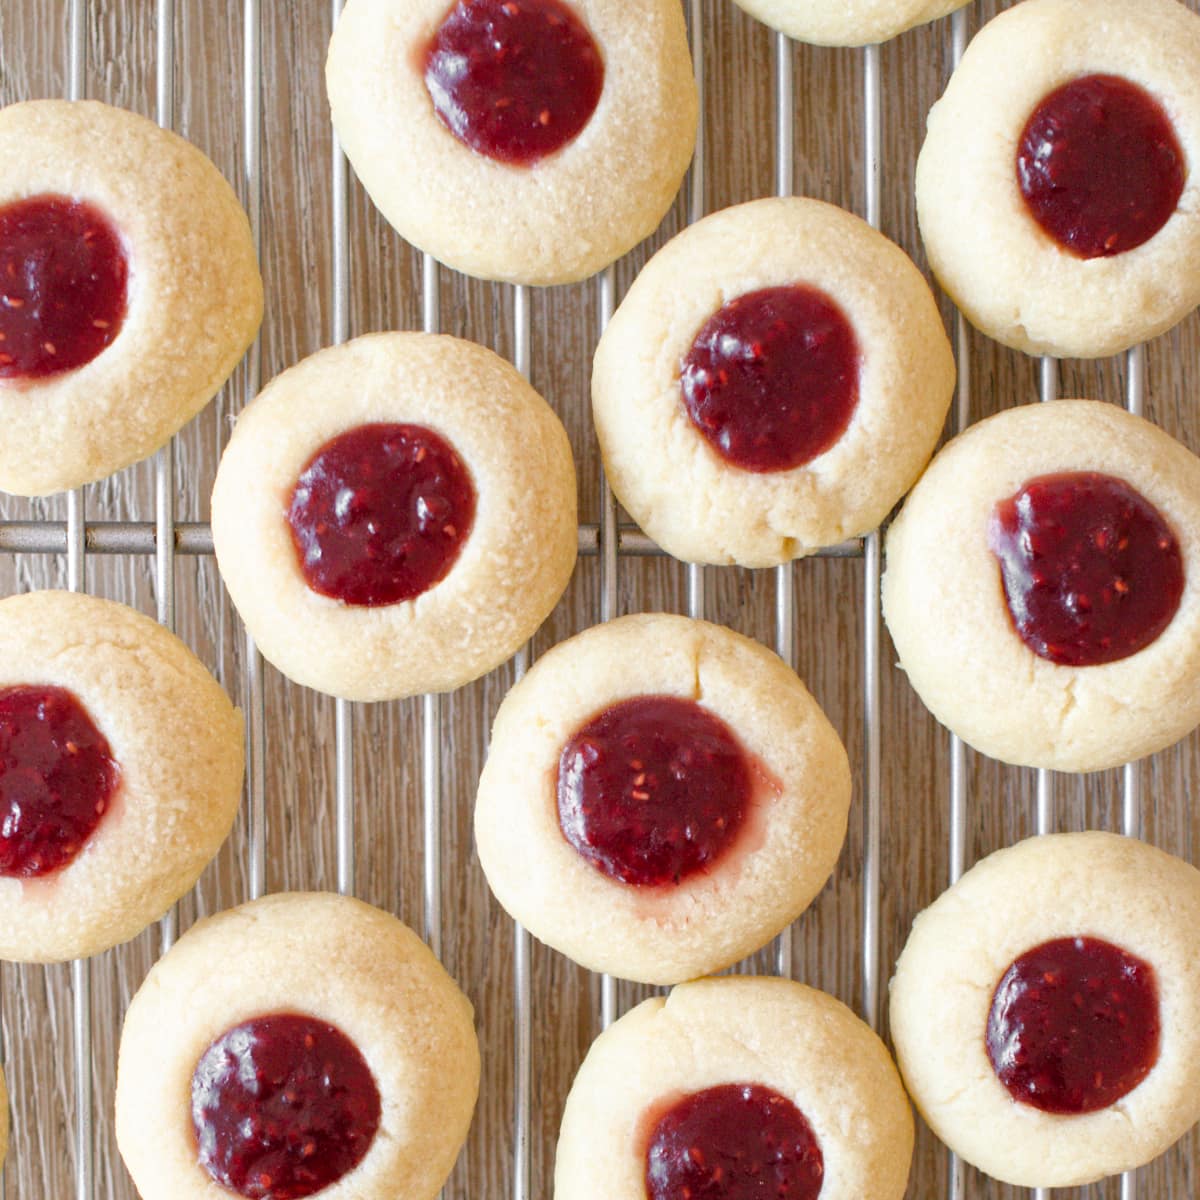
7. Fill with jam. Then, fill each cookie with about ½ teaspoon of jam. I like to fill the cookies with jam before baking because it allows the jam to set. It also makes it easier to store them since the jam won't be runny.
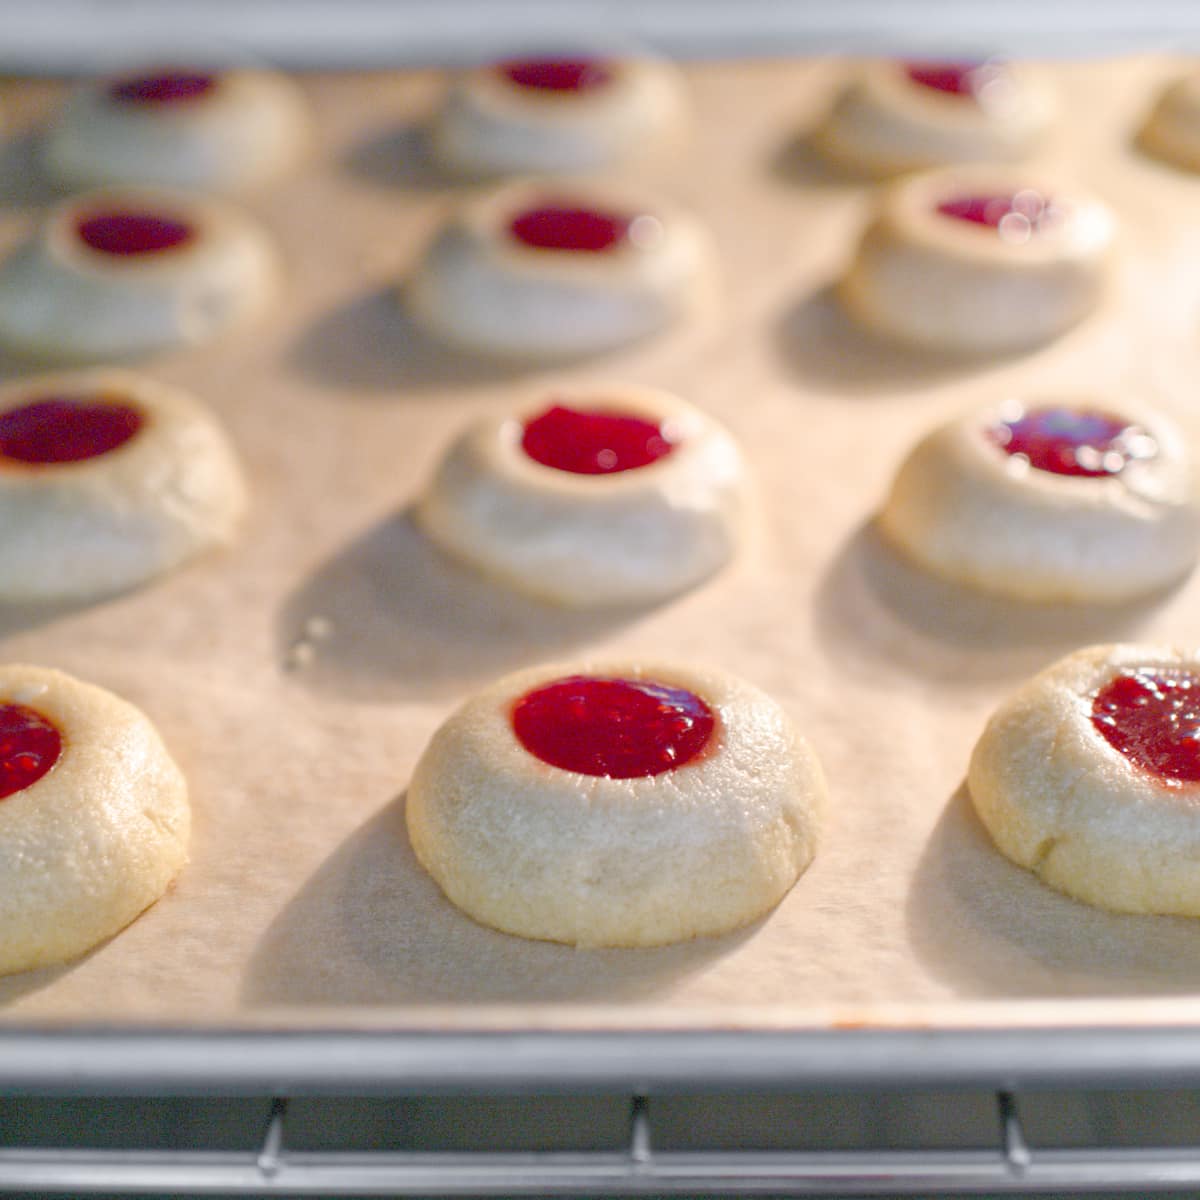
8. Bake cookies. Bake one sheet of cookies at a time for 13 to 15 minutes. The bottom of the cookies should be a light golden brown. The tops should stay mostly pale with just a hint of color.
9. Cool down. Remove the cookies from the oven and let them cool on the baking sheet for 5 minutes. Then, transfer them to a wire rack to cool completely.
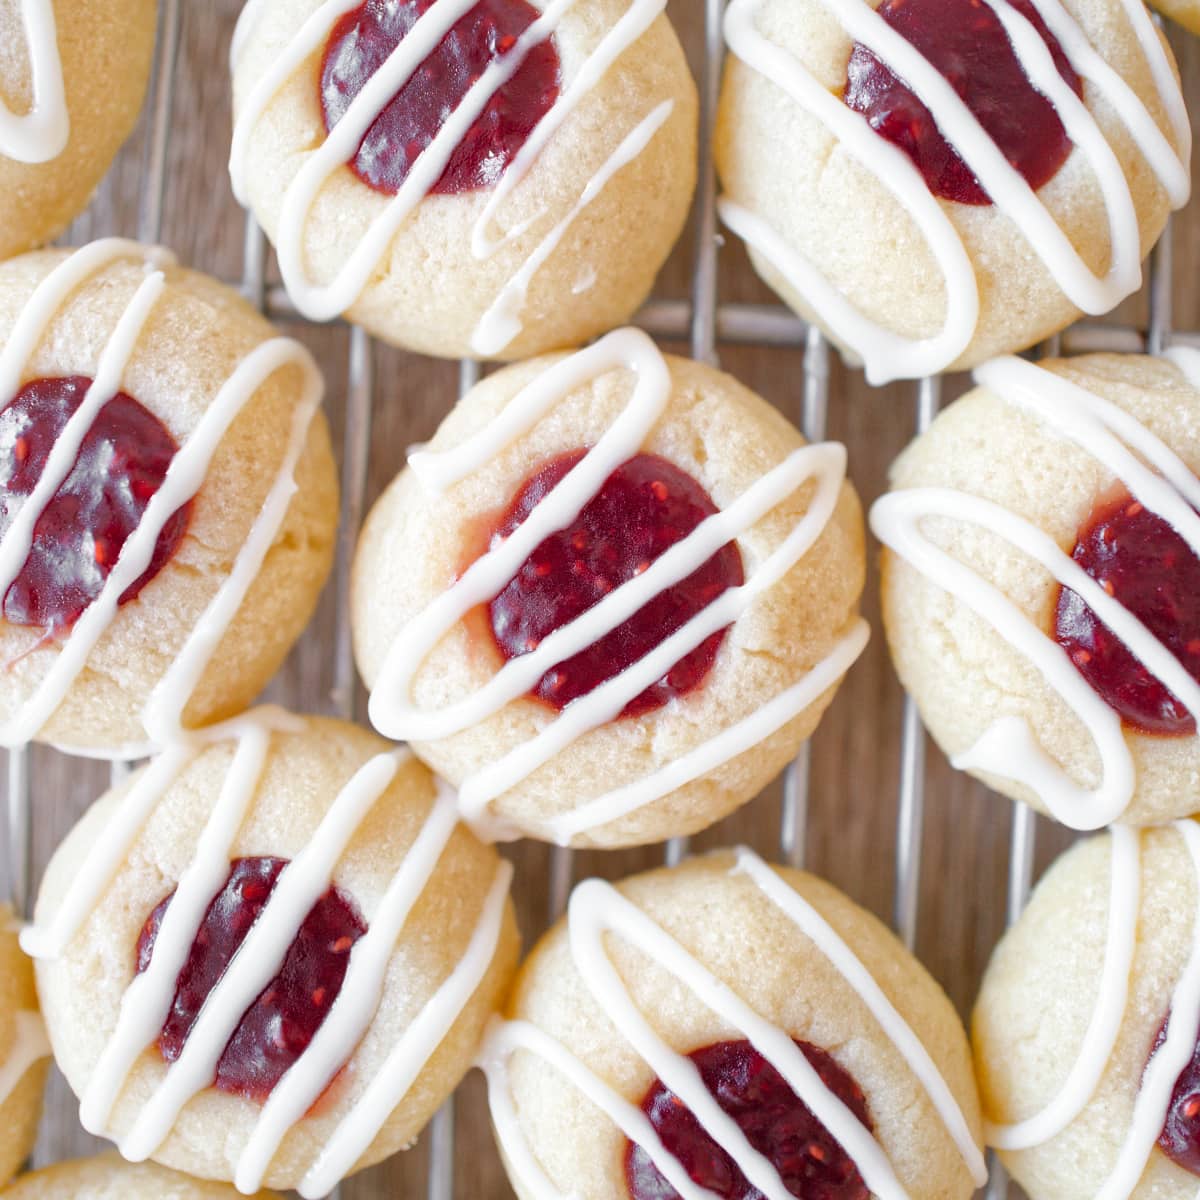
10. Drizzle glaze. After the cookies have cooled, they're ready for the glaze. Combine the powdered sugar, milk, and vanilla extract. Then, whisk until smooth. Slowly drizzle the glaze over each cookie. This step is optional, as thumbprint cookies are delicious with and without it. The glaze adds extra sweetness and visual appeal.
Baking Tips
Make ahead: You can prepare the cookie dough and keep it in the refrigerator for up to 3 days.
Use a kitchen scale: For precise ingredient measurements, use a kitchen scale to ensure consistent results in every batch.
Spoon the flour: If you don't have a kitchen scale, gently spoon the flour into your measuring cup, then swipe the excess off the top with the flat edge of a knife.
Avoid overbeating: Beat the butter and sugar until light and creamy. Stop before the mixture becomes too airy. Excessive beating can cause the cookies to spread during baking.
Avoid excessive mixing: After adding the egg yolk and extracts, gently mix in the flour until the dough comes together. Avoid overworking the dough, as it'll create too much gluten and toughen the texture.
To avoid cracks: If there's excessive cracking in the dough when you press it, add 1 tablespoon of milk or water to soften it.
Extra texture: Roll the dough balls in sugar or finely chopped nuts before baking to add texture and enhance the flavor.
Thick jam: Choose a thick jam or preserve to prevent leakage during baking. Fill the indents right to the top for the most appealing look and flavor. A piping bag also makes filling the centers much easier.
Oven settings: Most ovens are rarely calibrated, leading to inaccurate or uneven temperatures. It can cause uneven baking or spreading. You can turn the baking sheet halfway through or use an oven thermometer placed in the middle of your oven.
How to Store
Before storing thumbprint cookies, allow them to cool completely. Then, you place them in an airtight container at room temperature for 3 days. They'll last up to 2 weeks in the refrigerator.
Freeze them in an airtight bag or container to store, and they'll last up to 3 months. Use a piece of parchment or wax paper between the layers to prevent sticking. When you're ready to enjoy the cookies, let them thaw overnight in the fridge or at room temperature for 1 hour.
Frequently Asked Questions
Should you fill thumbprint cookies before or after baking?
The standard method is to fill thumbprint cookies with jam before baking. This will give your cookies a firmer and set filling. It'll also make it easier and cleaner for storage.
What are raspberry thumbprint cookies called?
Raspberry thumbprint cookies are best known as Hallongrotta, a common Swedish cookie. Its name means raspberry cave.
Can I use jelly instead of jam in thumbprint cookies?
Jelly makes an excellent substitute for jam in thumbprint cookies. Take care not to overfill the centers to prevent them from spilling over while baking.
Can you make the dough a day ahead and put it in the fridge?
You can prepare the thumbprint cookie dough a day ahead. Store it in the refrigerator. Then, let it sit at room temperature for 20 minutes before scooping and rolling into balls.
More Delicious Dessert Recipes
- Peanut Butter Eggs: Easy, no-bake version of the popular Reese's Peanut Butter Eggs, but better.
- Raspberry Crumble Bars: Sweet, soft, tangy, and juicy.
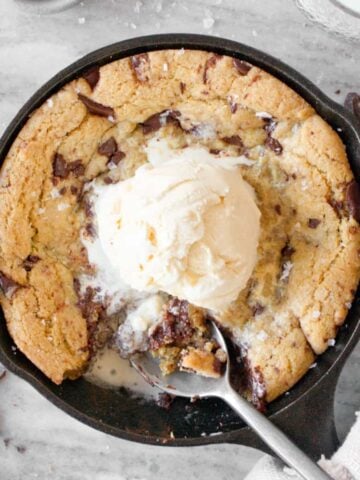
- Skillet Chocolate Chip Cookie: Large, gooey, with crispy golden-brown edges, served with vanilla ice cream.
If you enjoyed this raspberry thumbprint cookie recipe, please leave a 5-star rating and share your thoughts in the comments. Also, subscribe to my newsletter and follow me on Instagram, Facebook, and Pinterest for the latest updates. I'd love to stay connected.

★★★★★
"I really enjoyed this thumbprint cookie recipe! The instructions were clear, the baking times were perfect, and the cookies turned out delicious."
Susan
Ingredients
For the shortbread cookies:
- 1 cup (227g) unsalted butter, cut into 1 tablespoon pieces
- ⅔ cup (153g) cane sugar
- 1 large egg yolk
- 1 teaspoon vanilla extract
- ½ tsp almond extract
- ¼ teaspoon sea salt
- 2¼ cup (318g) all-purpose flour
- ½ cup (134g) raspberry jam
For the vanilla drizzle:
- ½ cup (52g) powdered sugar
- 1 tablespoon milk
- ¼ teaspoon vanilla extract
Instructions
- Preheat the oven to 350°F (175°C). Line 1 or 2 baking sheets with parchment paper. In a medium bowl, whisk together the flour and salt.
- In the bowl of an electric mixer, beat the butter and sugar together on high speed until light and fluffy, about 3-5 minutes.
- With the mixer on low speed, add the egg yolk, vanilla extract, and almond extract.
- Gradually add the flour and salt mixture. Scrape down the sides of the bowl, and continue mixing until a soft dough forms.
- Scoop out the dough and roll it into 1-tablespoon balls, making about 24 balls. Place them on the prepared baking sheet, spacing about 2 inches apart.
- Using your thumb or the back of a teaspoon, gently press the center of each ball to create a small indentation.
- Fill each cookie with about ½ teaspoon of jam.
- Bake the cookies for 13-15 minutes. The bottom of the cookies should be a light golden brown, while the tops should stay mostly pale with just a hint of color.
- Remove from the oven and let them cool on the baking sheet for 5 minutes before transferring to a wire rack to cool completely.
- Once the cookies have cooled, whisk together the powdered sugar, milk, and vanilla extract until smooth. Slowly drizzle the glaze over each cookie.
Notes
Nutrition Information
© Real and Vibrant. Content and photographs are copyright protected. Sharing of this recipe is both encouraged and appreciated. Copying and/or pasting full recipes to any social media is strictly prohibited.
Lisa G says
These were so easy to make and really good. My family loved them!
Sapana Chandra says
So glad to hear, Lisa! I'm happy to hear your family enjoyed them too.
Susan says
I really enjoyed this thumbprint cookie recipe! The instructions were clear, the baking times were perfect, and the cookies turned out delicious.
Sapana Chandra says
I'm so happy to hear you enjoyed it, Susan! Thanks for sharing.